This is the core of the project. It is not finished, but it is at it's primitive yet functioning level. To get to this point you will need
a detached truck bed trailer
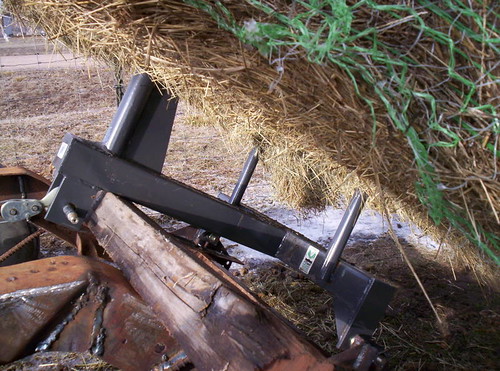
Hay spike
Pipe
couple pieces of angle iron
Harley Davidson front axle 3/4 inch (any solid of that size will work)
piece of chain
3/8 inch bolts to hold chain together
BFH (Big Frickin' Hammer)
Saws all
welder
come-along
A torch if you got em' other wise heat up the corners and whack it with the BFH
First remove the bed from the frame of the truck bed. Make sure that it is below freezing outside and it is only you and your wife. Yell at her when she complains that the bed just fell on her hand, tell her to suck it up and ask her if she's a PIONEER WOMAN!?!
Place the hay spike on the frame, calculate the approximate center of your bales (5 foot bale, theoretically 2 1/2 feet from the ground) The lower it is the better leverage you could have. You might have to lower your rails on the frame. Our frame has zero suspension, all the springs have been removed, so it is sitting on it's bump stops. Blink bars have been welded to the sides of the frame then down to the axle in a V shape to stabilize the axle to the frame, welded directly to the bump stops.
Take two 3 inches of 1 inch steel pipe, heavy gauge, we used the HD axle spacer, cut 4 pieces 2 1/2 inches long out of 3 inch angle iron. Weld the pipe using two pieces of angle iron, opposing in an S or lightening shape, welding it square and flush to one end of the top outside of the angle iron. When done it will look like a P with a tail. Stand it up , clamp it down and weld top and bottom. Take the other piece of iron and box in the P to make it look like inverted T with a dot on top, creating a pivot point with two flanges going forwards and back. Clamp to another piece of angle iron for alignment, weld the top side, cool, flip and weld the bottom side. Now you have an assembly that can be mounted to a flat rail of the frame. Do that twice, to create pivots for both sides.
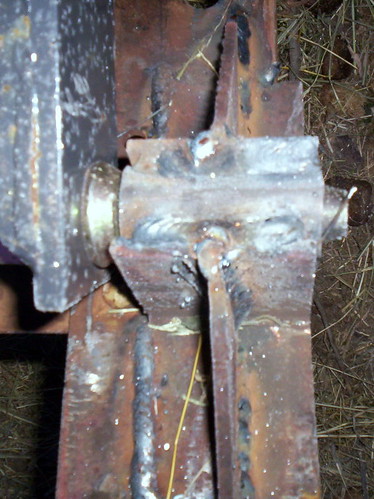

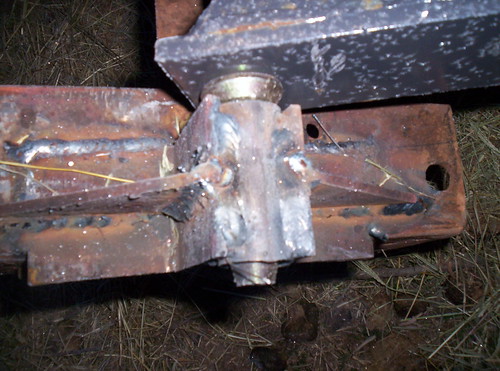
Calculate your height at plum, make sure your frame tongue is level with the scars on your knees, to get that height. (level to your hitch). Slide your spear lower to points or the pivot pins into your newly made pivots. Clamp down your pivots and weld them onto your frame at the predetermined spear height. Use corner gussets that were cut scraps, 3"x4". Put vertical gussets in the center of the angle iron pivots, weld them.
Ladies, go out and take a photo, while it is snowing and he is welding. Call him silly and run away.

Next, measure for a 4x4 "kick stand" up to the bottom side of the top mount to a frame structure to buck it, wrap a chain around the cross member and link the top mount, come-along to the chain. From there, double check measurements for the 4x4. Measure twice cut once, give yourself a little room to cut again. Then cut the wood, put under the mount wedge in the cross member, then pull everything tight with the come-along. Spear should be relatively horizontal, come-along tight, board wedged in place. At that point you are ready for application.

On the weld, turn it up and burn it in.
Now for the photo part of our show, because the above is all Greek to me (more like very bad English). This is why Husband doesn't run this blog, but he said you should understand. If not, he is here for you.
Get your Good Neighbor's truck to try it out on first (This should hook up to our tractor as well)

Line it up and . . .

Shove it in
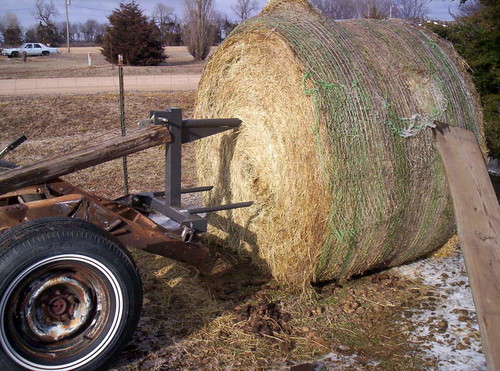
Start ratcheting it up


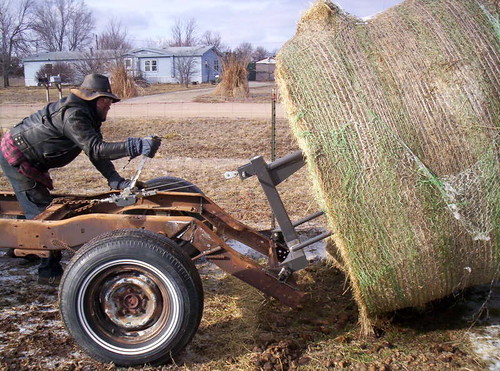
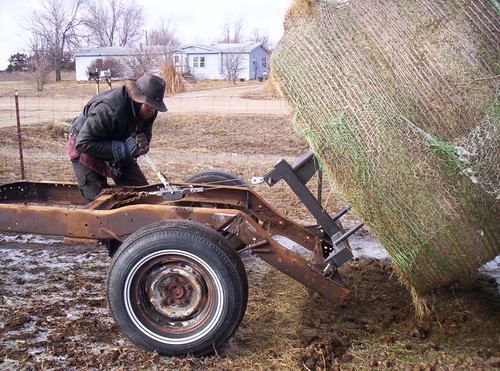

oops, it's sitting on the tires. But it took less then 30 seconds to get it there.
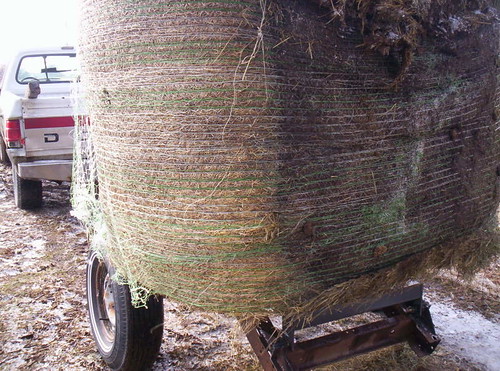
Place the "kick stand" under the spike. Re-bar should fix this.
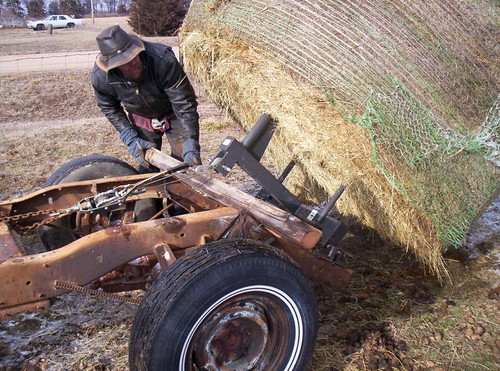
Now put your Good Neighbor to work, that is after all why he lives next to you.
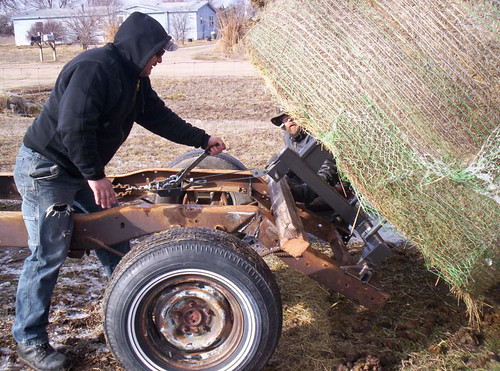

9 comments:
Nice work Danny.
THAT is impressive. Tell him we said nicely done.
I love people that can take "junk" and make useful stuff - my father is a whiz like that too. :)
Enjoy it - it was a definite must have, eh? [Nice pics too!]
Very impressive!! :)
Very nice looks great. That should work well and save alot of work. Clever idea on useing a 3 point bale fork on there.
If you could build it perfect on the first try, that would take all of the fun out of it.
WOW! that's awesome! Isn't it a blessing to have a DH who knows how to think outside the box? Mike is always coming up with good ideas like that. Right now he's working on building a forecart for our Fjord, we'll be able to hook equipment to the cart for farming our place. He designed it and is making it from scrap metal, he did buy some metal strapping( less than $35 worth) and is using an axle he salvaged. New these carts cost several hundred to even a thousand $$ We'll have only spent less than $100 when it's done.
Great job to your Dh!
Blessings,
Kelle
We ended up spending less than $200 on this project. We had to buy the spike.
That is fantastic!!! Way to go!!!
I enjoyed seeing how you created this and all the step by step pics :)
Jack
beautiful pics! looks like you guys are out in the boonies. The best place to live.
Post a Comment